Postage Stamp Quilt Project Instructions
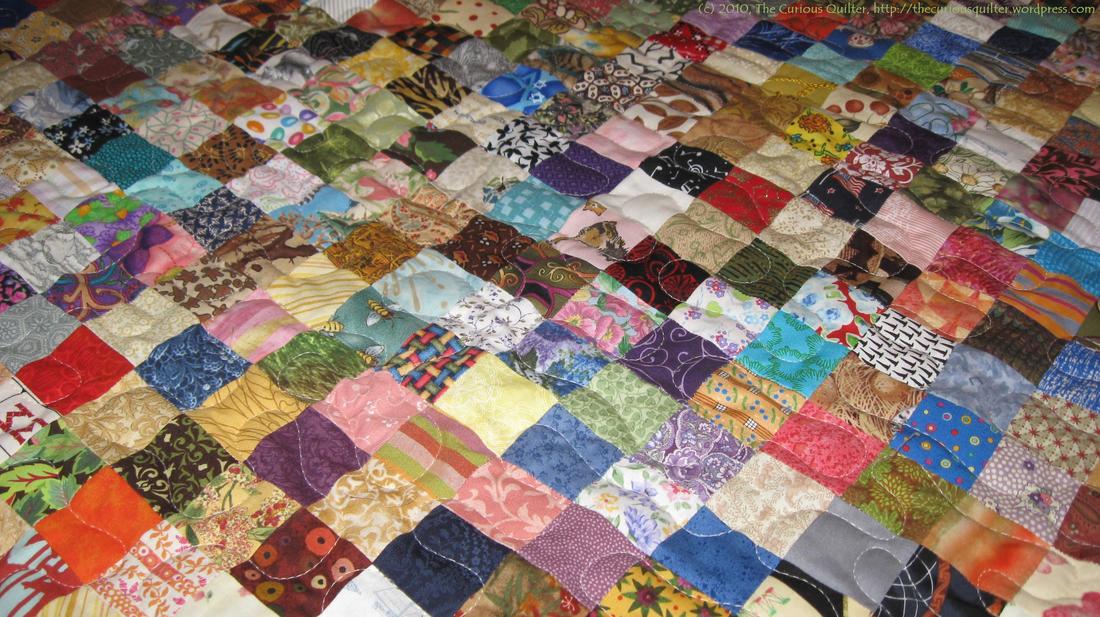
A postage stamp quilt is composed of blocks that are all the exact same size, usually about the size of a postage stamp, thus the title "postage stamp quilt". These cubes are tiny squares which are approximately one-and-a-half to 2 inches big. Dozens of colors are used in the quilt, which gives it a mosaic appearance. There's absolutely no set pattern for a postage stamp quilt, instead the colors are chosen randomly when adding them to the quilt. This is just like the charm quilt, except that the cubes in a charm quilt are approximately five inches by five inches.
It's very easy to create your own postage stamp quilt. If you're already a quilter, save up your bits of fabric for this job. To begin, gather up 40 distinct pieces of fabric which are at least six inches by six inches. When choosing your fabric, select a fantastic selection of colors and prints. If you're making the quilt for somebody else, select prints that you feel reflect that individual's character and soul where to buy stamps near me.
As you cut each square, put it into a large container or bag. As soon as you've finished cutting all of the cloth, pick squares at random from the container and set them on a desk. Don't be worried about what color or print you choose, simply place them one by one so that you have 10 squares moving across and 12 squares going down. Once all the squares are set on the table, you can rearrange the colors if you desire, especially if a lot of squares that look like are put alongside each other.
The next step is to begin sewing your quilt. With a 1/4 inch seam allowance, sew the squares at the bottom row together. For every row, then press the seam allowance in the opposite direction. That is, in 1 row, press the seam allowance to the right and for the next row, then press the seam allowance to the left.
If the seam allowances are all pressed in precisely the exact same way, then the quilt top will be flatter. Once all the squares are sewn into rows, you can then join the rows together.
To finish the quilt top, you'll have to create a boundary. Choose two colors for the edge - a light colour for the inner edge and a dark color for the outer edge. The colors can be a strong or a print and should highlight a color in the quilt. Cut the inner edge 1-1/4 inches wide and cut the outer edge 3-1/2 inches wide.
You're now ready to complete the quilt with the addition of batting and a backing. There are lots of diverse ways to do this, so do a little research and discover a method that you're comfortable with. Take your time, plan out the steps before you begin and you'll wind up getting a quilt to be treasured and handed down from generation to generation.

